Larch has earned its place on garden rooms for good reason: it is hard, resinous and slow to rot, and it weathers to a silvery grey that suits a British garden. But the same qualities that make it durable — dense grain, high tannin content, plenty of natural movement — mean it does not forgive sloppy installation. Get the battens and ventilation right and the facade will look sharp for years. Get them wrong and you will be looking at cupped boards, black staining and damp insulation before the second winter is out. Here is the order of work that actually holds up on site.
Start With the Frame, Not the Boards
Cladding is only as good as what sits behind it. Before a single board comes off the stack, check that the studwork is plumb and the wall plane is flat. Battens will absorb a few millimetres of irregularity, not 25mm. Sort that out first, because packing and shimming after the membrane is on is miserable work.
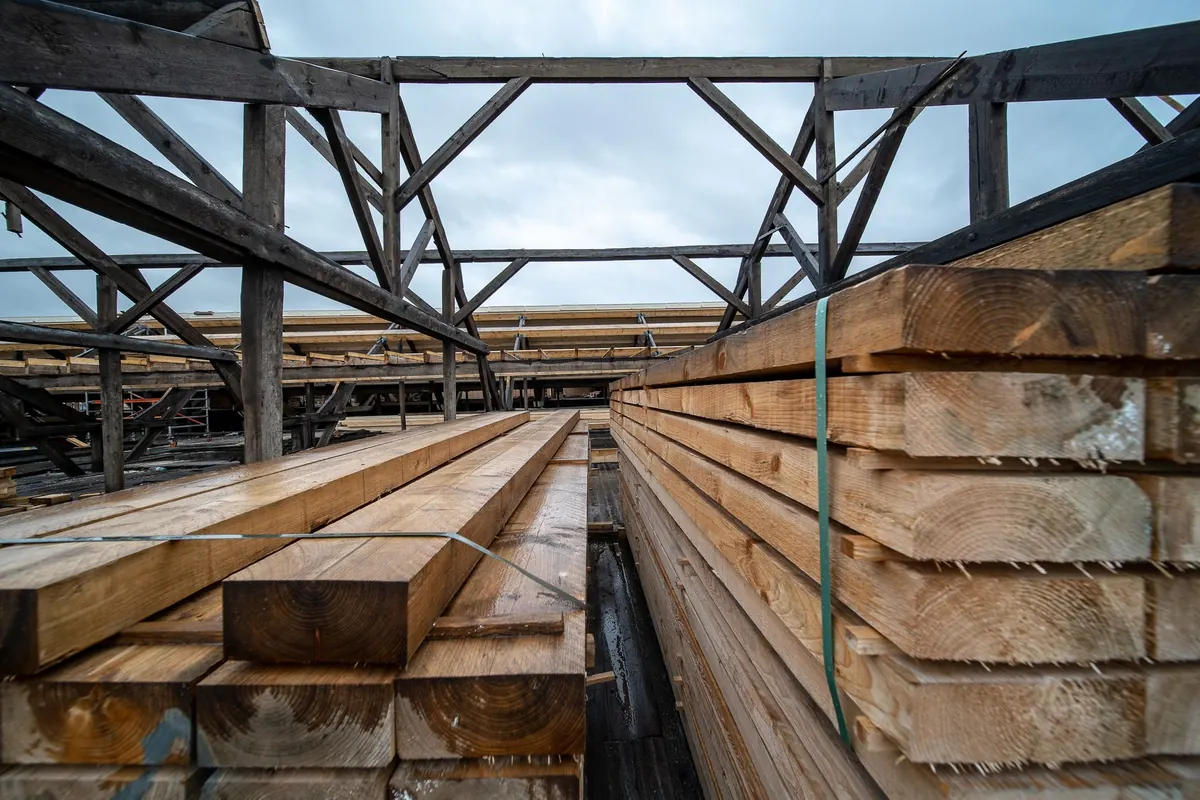
Then let the timber settle. Larch moves, and if the boards arrive wet and go straight onto the wall, you will get tight joints and pronounced cupping. Stack them flat on bearers, off the ground, with spacers between each course so air reaches every face. Cover the stack but do not wrap it in plastic — trapped condensation causes more problems than rain. A week or two in a dry, ventilated spot makes the boards easier to cut and far more predictable to fix.
Battens: Spacing, Depth and Layout
Vertical battens are the default, because any water that gets behind the cladding can run straight down and out. Fix them over a breather membrane, through into the studs rather than just into sheathing, and set them out at consistent centres. As a rule of thumb, 400mm centres suit boards around 20–25mm thick on exposed elevations; 600mm is usually acceptable for thicker boards in sheltered positions. Where the two conflict, follow the cladding supplier's guidance over any rule of thumb.
- Depth: a minimum of 25mm to create a real cavity; 38mm is better and easier to work with.
- Straightness: sight down every batten before fixing. A bowed batten will telegraph through the finished wall.
- Material: treated softwood is fine; make sure cut ends are treated too.
- Counter-battens: if you need horizontal battens for any reason, add a second layer so a drainage path still exists behind them.
Ventilation: The Detail That Decides Everything
The cavity behind the cladding needs to breathe. That means a clear opening at the bottom and at the top, with insect mesh over both to keep wasps and debris out. Do not let insulation, cable clips or pipework intrude into the cavity, and do not block the top vent with a fascia or gutter that sits tight against the wall.
Keep the bottom opening above the damp-proof course and well clear of the ground. On a garden room this often means a small insect mesh strip tucked behind the first board, plus a trim or gravel margin below to stop splash-back.
Most cladding failures come down to one thing: water that got in and had nowhere to go.
Fixings: Stainless, and Room to Move
Larch is acidic, and its tannins attack zinc and galvanised coatings. Use stainless steel — A2 as a minimum, A4 near the coast or anywhere with salt in the air. Cheap fixings show up as black streaks running down the boards within a season, and the corrosion behind them is worse than the staining.
Ring-shank nails give excellent grip for face-fixing. Where you want a cleaner look, use stainless cladding screws with small heads in the tongue, or a concealed clip system. A few habits keep the wall tidy:
- Pre-drill near board ends, roughly 20mm in from the edge, to avoid splitting.
- Keep fixings at least 20mm from any board end and just over 20mm from the edges.
- Use two fixings per batten crossing on wide boards; one on narrow ones.
- Do not over-drive. The head should sit flush, not crush the fibres.
Allow for movement. Boards should never be jammed hard against each other or against trims. On shiplap and feather edge, a gap of a few millimetres under the overlap is normal and invisible once fixed. On tongue and groove, aim for a small gap at the joint rather than a perfect tight fit.
Which Way Should the Boards Run?
Vertical boards shed water most efficiently and are the safer choice on the most exposed elevation. Horizontal boards give a building a longer, lower look but require careful attention to the overlap and to end joints. Diagonal layouts look striking on a square building and fussy on anything else.
Whatever you choose, keep grain and heart-side in mind. Boards cup away from the heart side, so face them so the curve of the growth rings crowns outward. Do not mix board widths across one wall, and trim ends with a slight chamfer rather than a hard square cut.
Weatherproofing the Details
The flat field of cladding rarely fails. The details do. Give each of these ten minutes of thought: a head flashing or drip above the top board so water is thrown clear of the wall; a continuous drip or trim at the base; cills with a drip groove under every opening; jamb trims fitted so water cannot track behind them; and sealed end grain on every cut, because exposed end grain soaks up water faster than any face.
At external corners, either butt the boards over a corner batten with a vertical trim, or use a proprietary corner profile that allows each wall to move independently. Keep finished ground level at least 150mm below the bottom board, and keep soil, mulch and shrubs from touching the cladding — constant damp at the base is the single most common cause of premature decay in garden rooms.
The Installation Checklist
- Check the frame is plumb, flat and sound.
- Acclimatise the larch, stacked and spaced under cover.
- Fix the breather membrane with correct laps.
- Set out battens at consistent centres and fix into studs.
- Fit insect mesh at the top and bottom of the cavity.
- Establish a level datum and fix the first board dead straight.
- Work across the wall, checking verticality or level every few boards.
- Leave movement gaps and keep fixings stainless.
- Finish with head flashing, base drip, cills and corner trims.
- Seal cut ends and apply any chosen finish once the wall is complete.
After the Cladding Is On
Bare larch will weather to grey, which many people want. If you would rather keep some warmth in the colour, apply a UV-protective stain or oil designed for exterior timber, and apply it early rather than waiting for the boards to silver. Always test on an offcut and follow the manufacturer's instructions on coverage and re-coating intervals, because products vary considerably.
Then keep an eye on it. A quick annual check of the base, the corners and around openings will catch small problems while they are still small. A soft brush and clean water is enough for cleaning; avoid pressure washing, which drives water into joints and raises the grain. Sweep leaves out of the ventilation gap, trim back any shrub that has grown against the wall, and clear gutters above so overflow runs away from the cladding rather than down behind it.
If your garden room needs to satisfy building regulations, sits in a conservation area, or the cladding is going onto a habitable structure where fire performance matters, check the requirements with your local authority or a qualified professional before you order timber.
Photo: adege / Pixabay